# Publishing Your Page for Public Access 🚀
Sharing your content with the world is straightforward! Follow these simple steps to make your page publicly accessible.
# Hi guys
# Publishing Steps 📝
- Open or Create Your Page: Navigate to the page you wish to share. This could be a welcome note, a team handbook, or any other document.
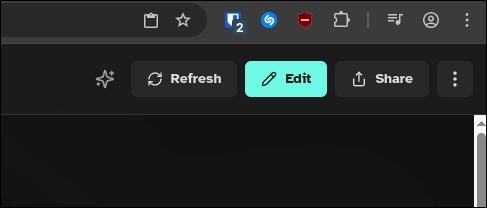
- Click the "Share" Button: Locate and click the prominent Share button, typically found in the top-right corner of your workspace.
- Configure Public Access:
- Select the public sharing option.
- Update your public URL slug to your desired choice.
- Click Save changes.
- (Optional) Customize Your URL Slug: For a more memorable and user-friendly link, you can customize the URL slug.
- Example:
My-NotesorTeam-Handbook
- Example:
- Finalize and Share:
- Click Copy link to get the shareable URL.
- Alternatively, click Open published version to view your live page.
🎉 Congratulations! Your page is now live, offering lightning-fast loading, SEO optimization, and a mobile-friendly experience. It also features beautiful code highlighting for enhanced readability. Best of all, every edit you make is instantly reflected on the public version.
# Visual Guide: How to Publish 📸
Here are some screenshots to guide you through the publishing process:

# Pro Workspace Feature ✨
For users with Pro workspaces, your public pages will proudly display a shiny badge, indicating enhanced features and capabilities.